

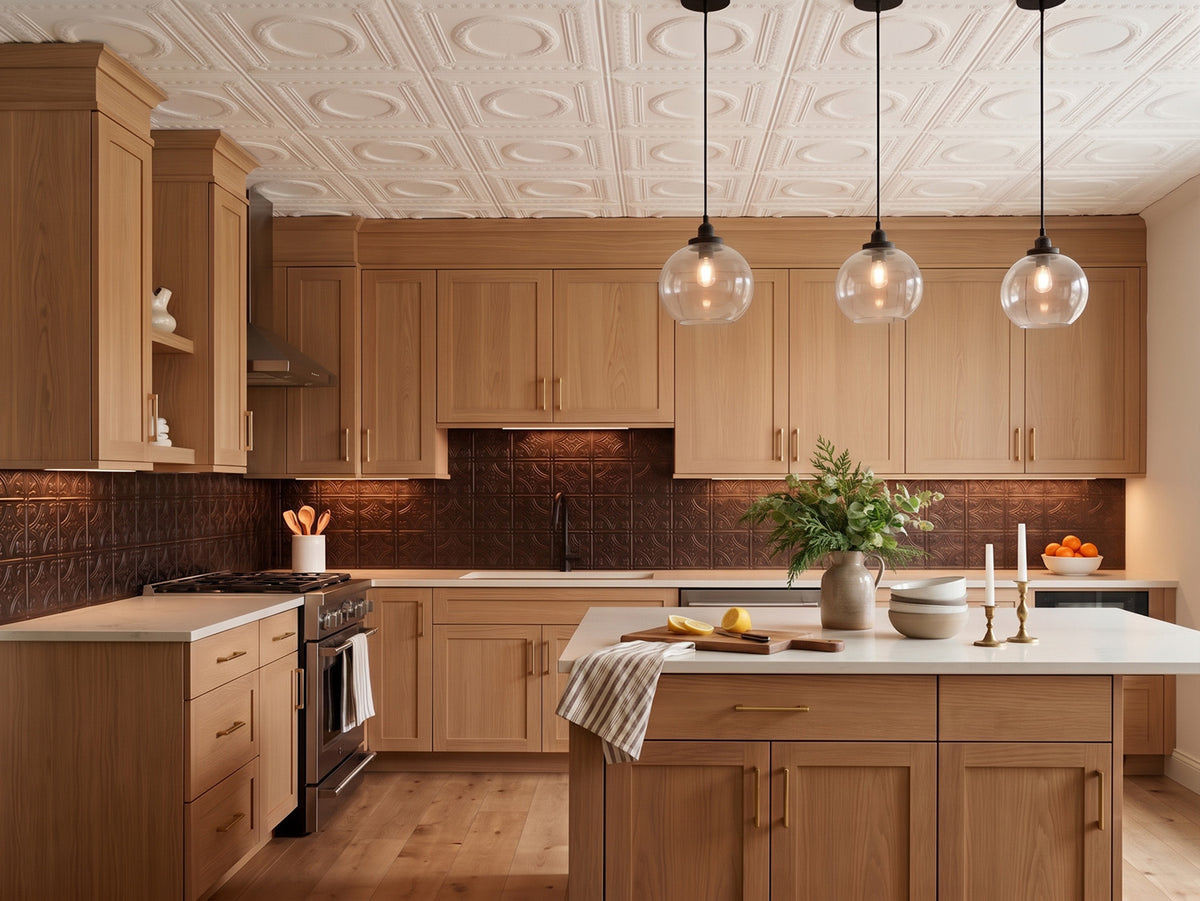
Want a complete kitchen transformation for the holidays?
From backsplashes to ceilings, ATI Decorative Laminates help you create a beautiful, updated kitchen in less time — with less hassle. Stylish, durable and easy to install, they're the smart choice for a holiday-ready space.
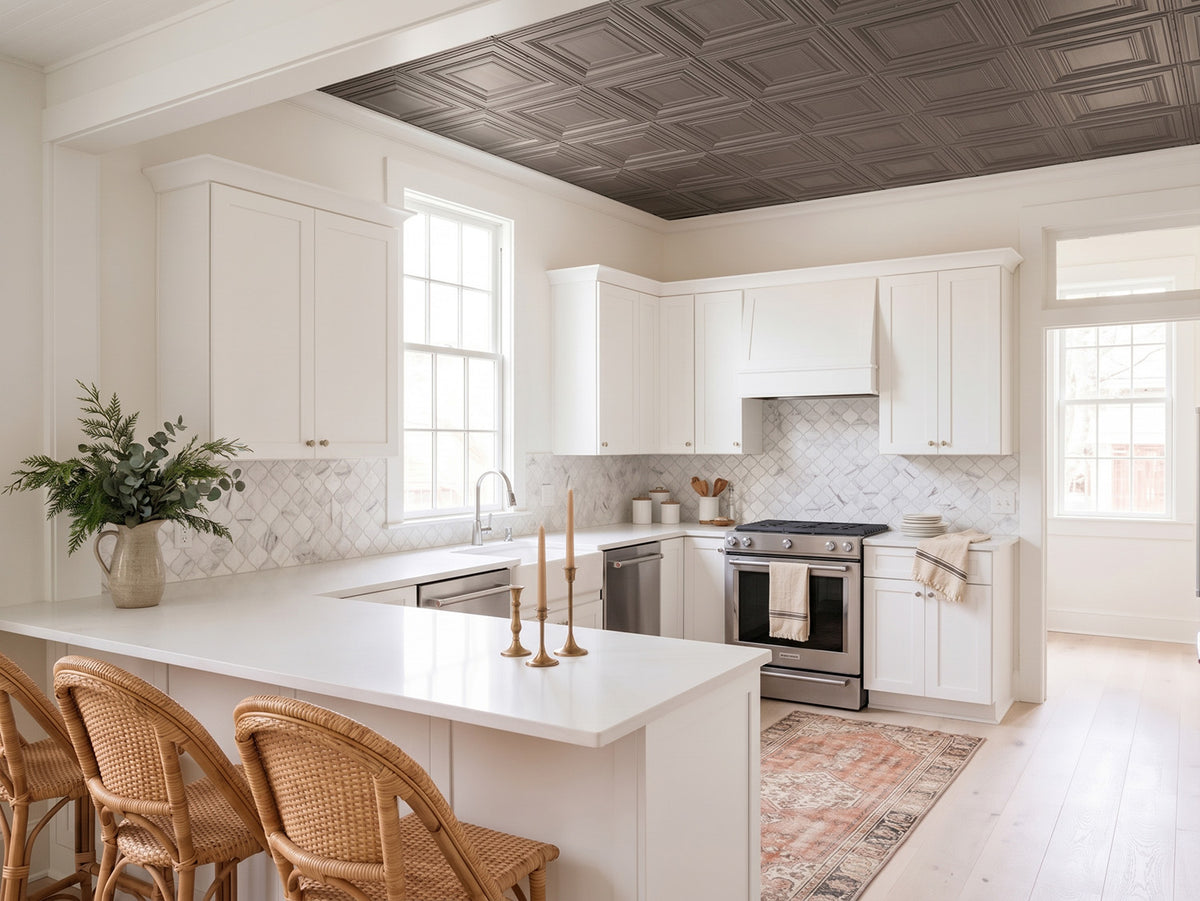
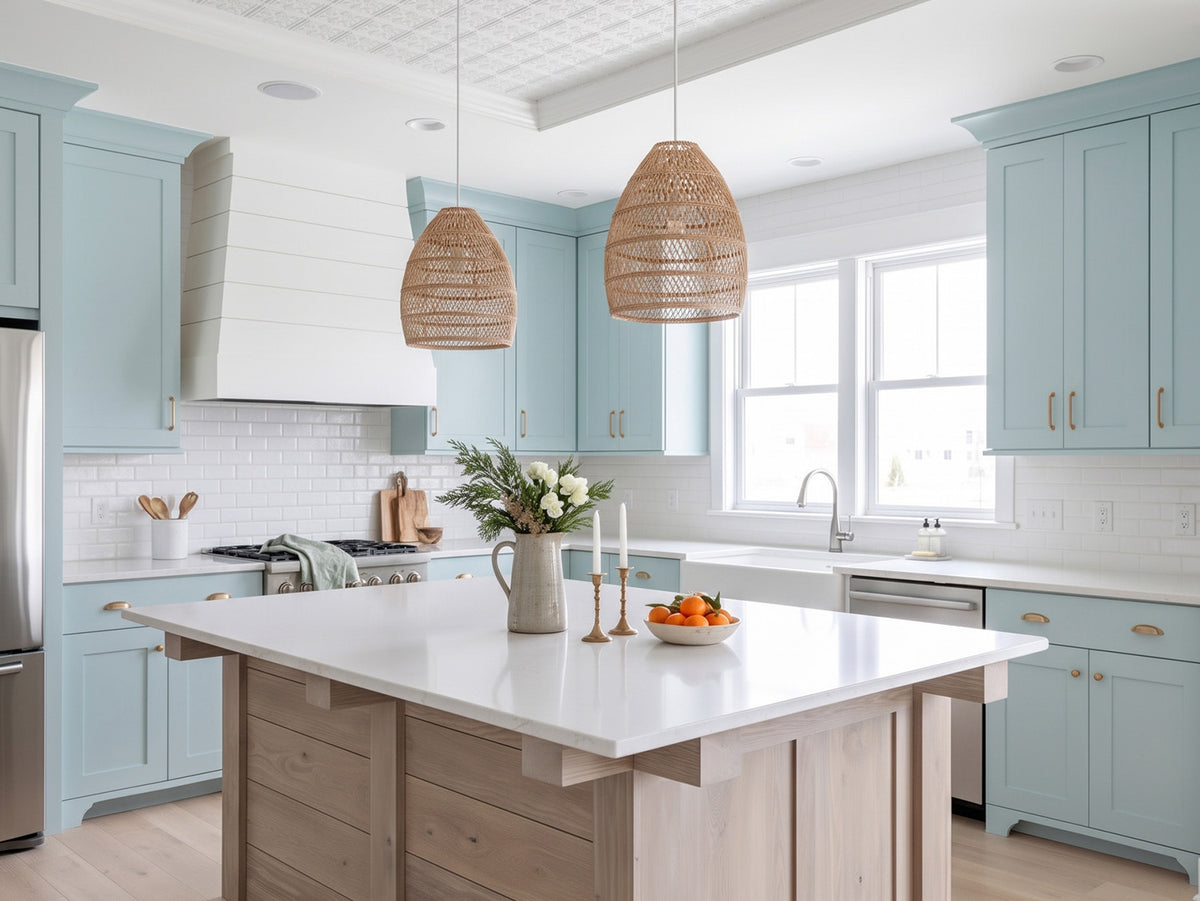
Backsplash + ceiling, planned as one weekend project.
Coordinate your backsplash and ceiling for a cohesive, high-end look in just a few days. With ATI Decorative Laminates, you get the style, durability and easy installation needed to complete a stunning kitchen upgrade—no professional help required.
"With the correct adhesive and some patience, I completed my backsplash and a wood trim/ceiling in a weekend."
Choose Your Holiday Kitchen Project
Find the perfect decorative laminate for your next DIY. Explore our most popular styles for kitchens.
Backsplash Panels


Subway Tile DIY Backsplash Panels - Gloss White


Rib 1 DIY Backsplash Panels - Marble


Savannah DIY Backsplash Panels - Distressed White


Rib 1 DIY Backsplash Panels - Gloss White


Vista DIY Backsplash Panels - Gloss White


Subway Tile DIY Backsplash Panels - Marble


Savannah DIY Backsplash Panels - Matte White


Savannah DIY Backsplash Panels - Brushed Nickel
Ceiling Tile Options


Art Deco Ceiling Tiles


Colonial Ceiling Tiles


Corrugated Ceiling Tiles


Georgian Ceiling Tiles


Iceberg Ceiling Tiles


Madison Ceiling Tiles


Portrait Ceiling Tiles
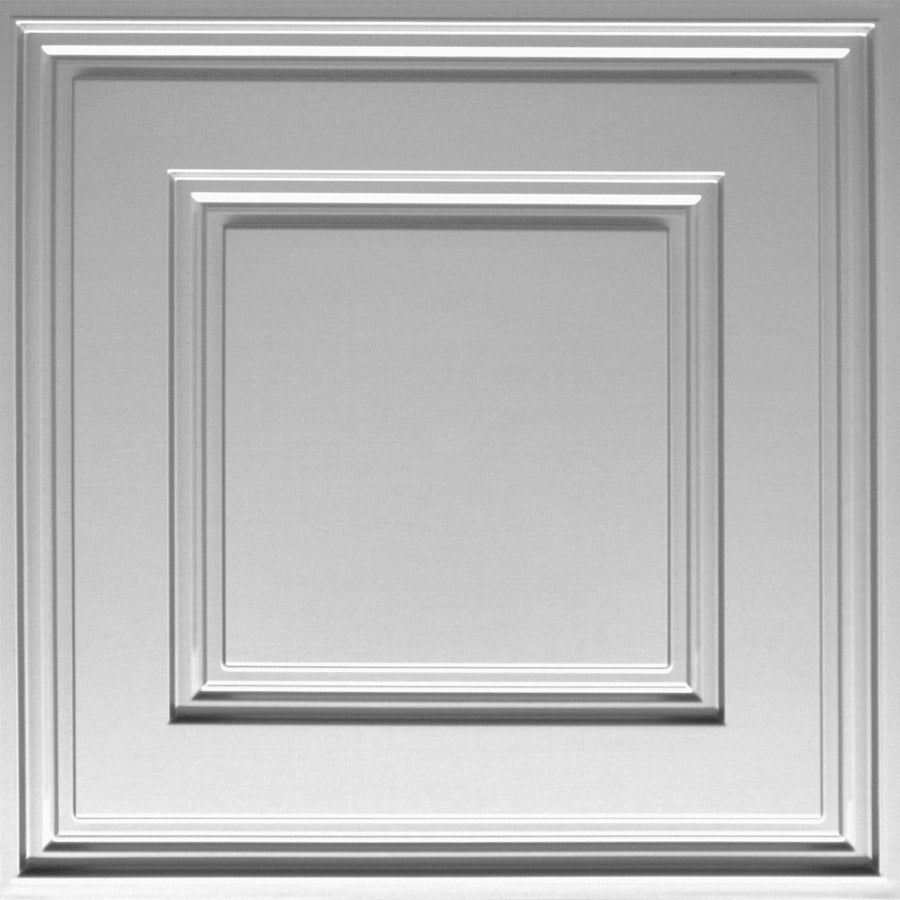
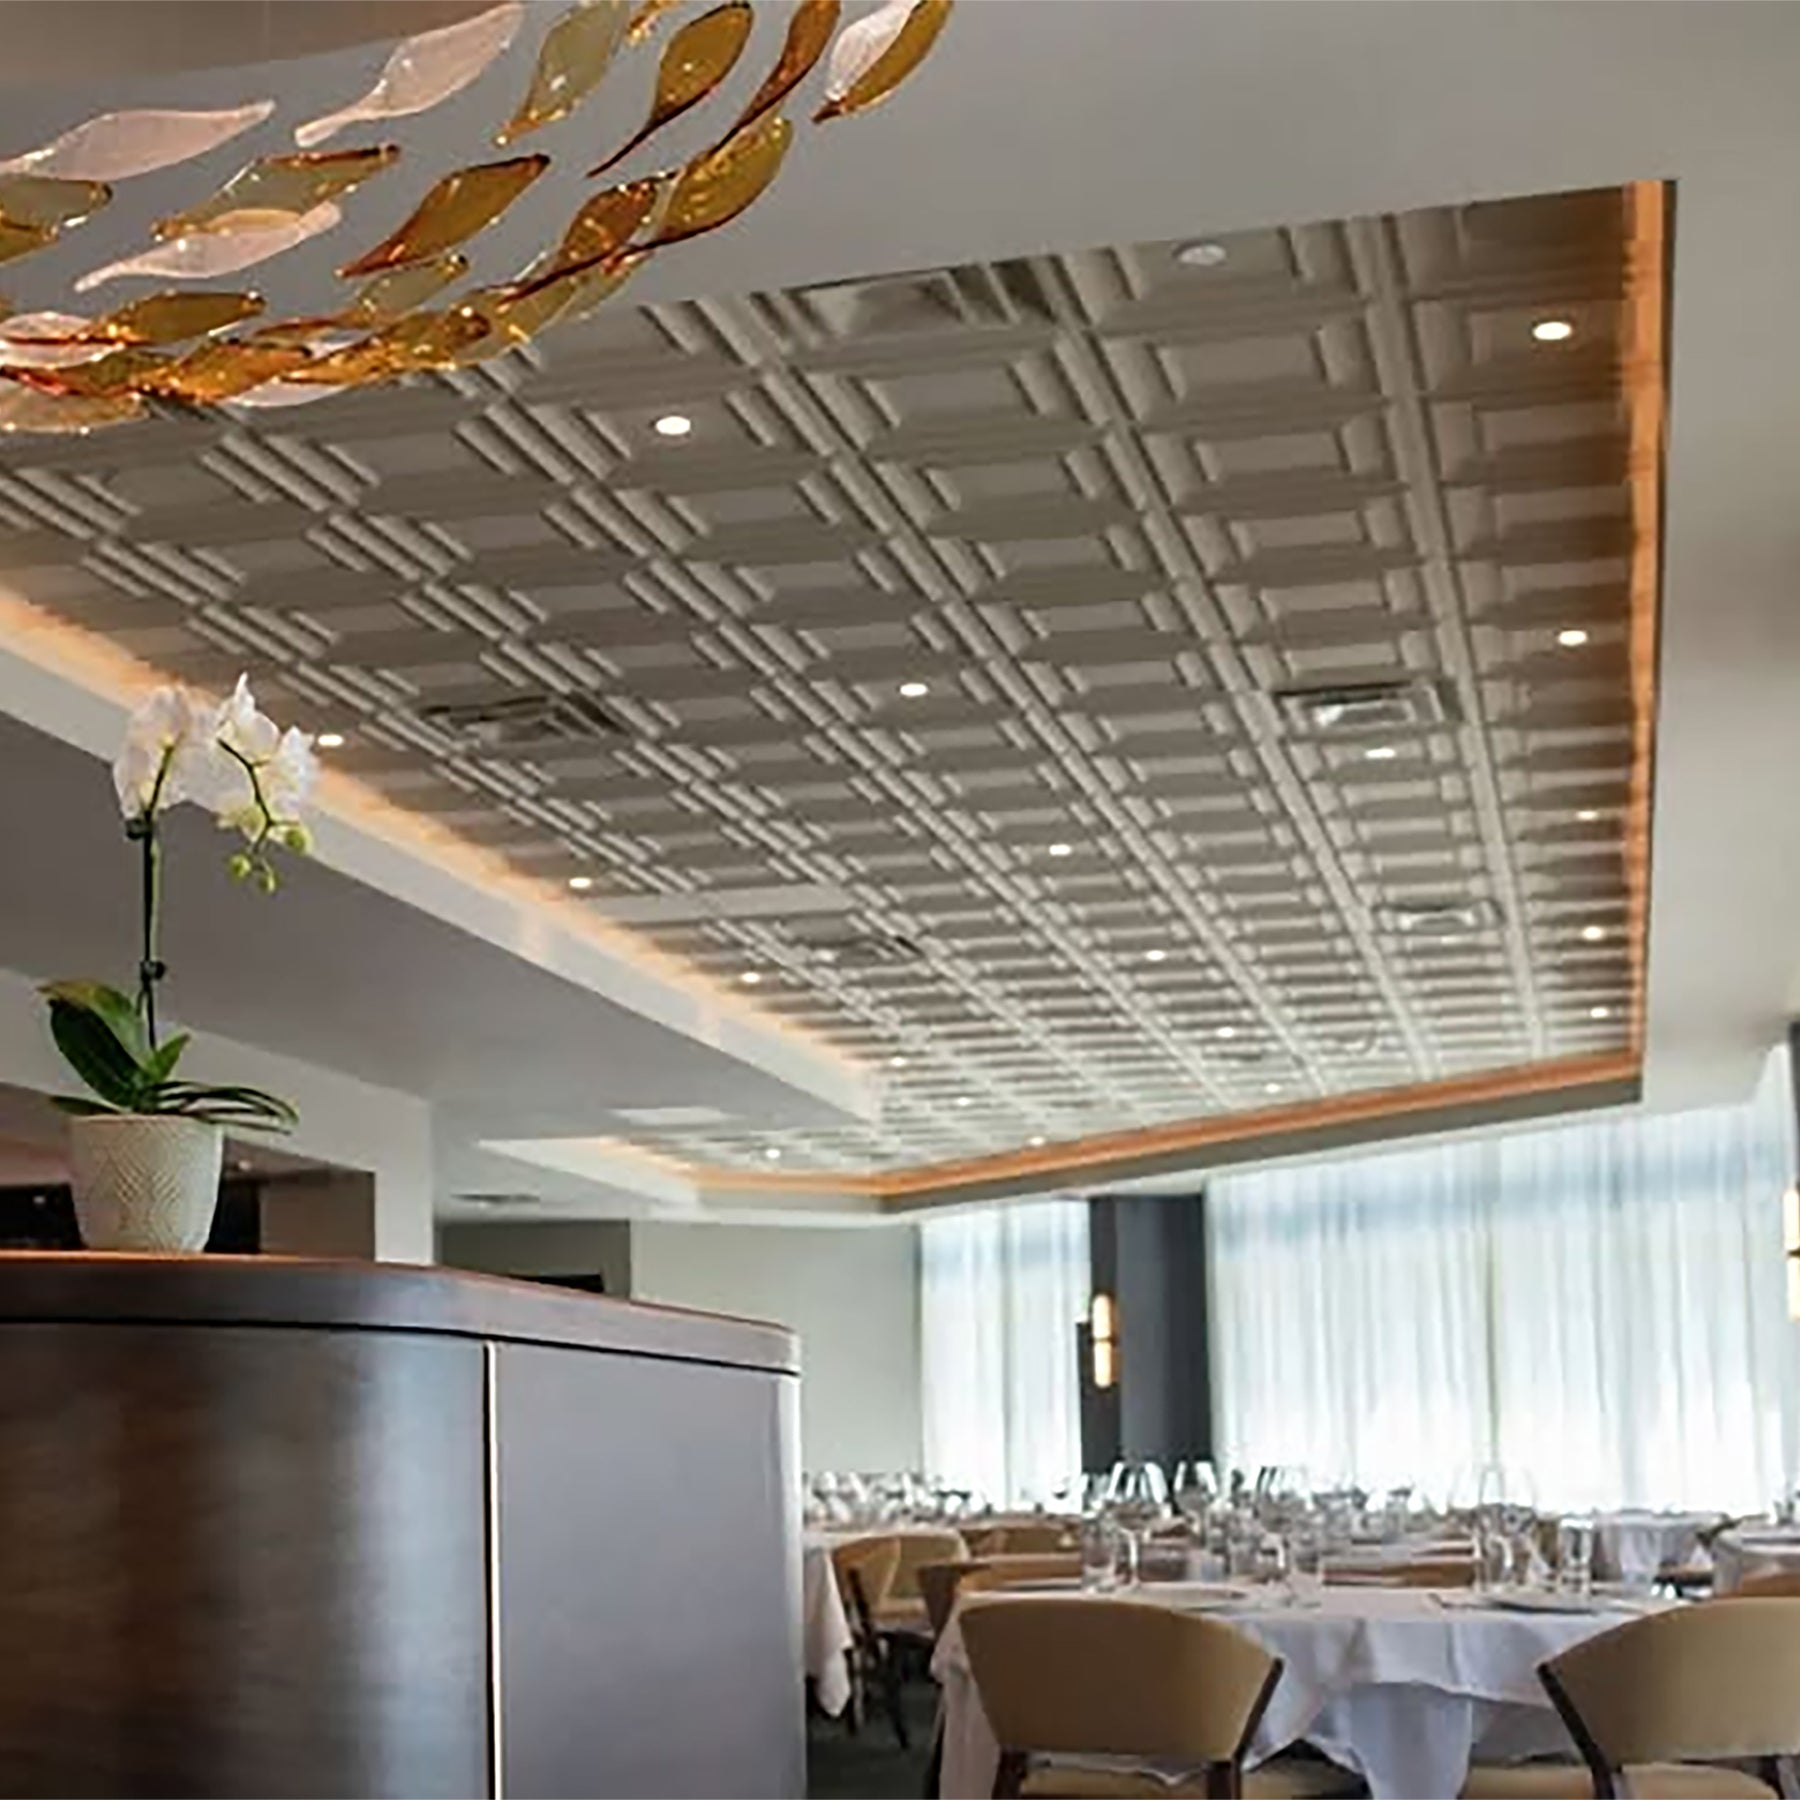
Raised Panel Coffer Ceiling Tiles
Your Kitchen Makeover in 3 Steps
A beautiful kitchen in just a few simple steps.
1. Prep
Clean your kitchen walls and the back of your panels with a cloth and rubbing alcohol. Do a “dry layout” by arranging your panels on a table or floor, measuring the walls, and cutting panels to size (you can do this with scissors!). Place panels on the wall to confirm correct sizing.
2. Adhere
Use Spray-Lock FRP Adhesive, double-sided tape, or tube adhesive to stick panels to the wall. Apply pressure to the panels to ensure a strong bond and squeeze out any air bubbles, repeating this step after an hour. Add J-Trim for finshed edges where needed.
3. Enjoy
Your refreshed kitchen awaits! Don’t be surprised if your new backsplash inspires you to spend more time cooking and gathering with your favorite people.
To see these steps in action, watch our video tutorial.
See How Easy It Is
Watch our step-by-step video to learn more about this weekend-friendly project and see how our panels can transform your kitchen.
FAQs
How long does it take the samples to ship?
How long does it take the samples to ship?
Not long! All samples will be shipped within 24 hours.
How do I clean it?
How do I clean it?
To clean your kitchen backsplash, gently wipe a damp cloth over the surface, using a mild cleaning solution if you’d like.
What tools do I need?
What tools do I need?
You only need a handful of common tools to install your Decorative BackSplash: a tape measure, tin snips or scissors, caulking gun or ¼-notched trowel, utility knife, steel straight edge, and your choice of tube or tape adhesive.
Can I install backsplash panels behind the stove?
Can I install backsplash panels behind the stove?
Decorative BackSplash can withstand heat up to 140 ℉ without causing damage to the product. We recommend a minimum distance of six inches between the burner or other heat source and your backsplash tiles. You may also refer to your stove’s manufacturer for specific information.
Can I install backsplash panels in the shower?
Can I install backsplash panels in the shower?
Our kitchen backsplashes are manufactured to 18"x24" panels that fit perfectly into a kitchen application. We do offer Tub and Shower Surrounds that are perfect for wet areas, offering a durable, grout-free, and easy-to-maintain alternative to ceramic tile. Ideal for spaces like showers and laundry walls, these non-porous panels are both practical and stylish. Check out our MirroFlex Tub and Shower Surrounds!


